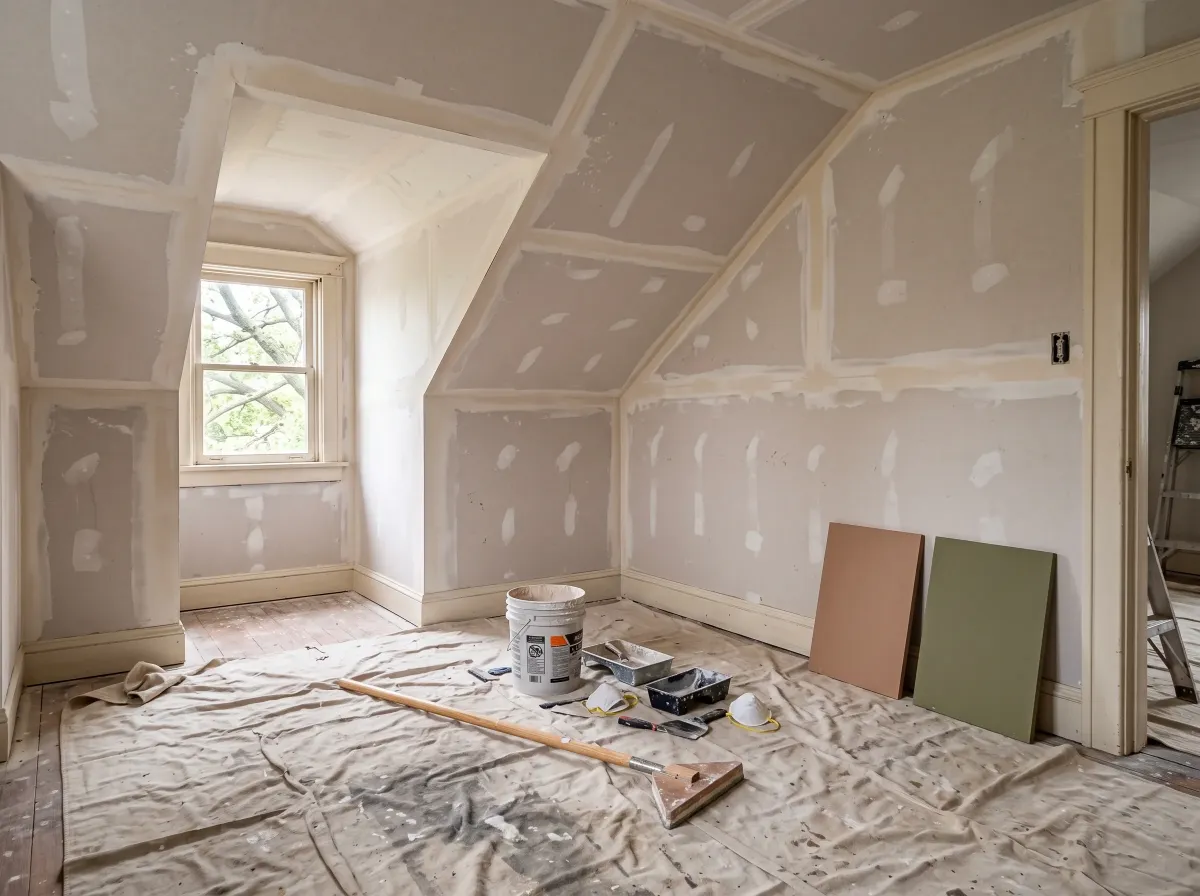
How New Drywall Should Be Prepared Before Painting in Webster Groves, MO
New drywall is not ready for paint the moment it is installed. Before the first coat goes on, the surface needs to be finished, sanded, cleaned, primed, inspected, and prepared the right way.
That matters even more in Webster Groves homes, where older rooms, detailed trim, built-ins, finished basements, additions, and updated spaces often sit side by side. If new drywall is not prepared correctly, it can stand out from the rest of the room instead of blending in.
Whether you are finishing a basement, updating a home office, remodeling a bedroom, converting an enclosed porch, or repairing a wall after renovation work, proper drywall preparation helps the final paint look smoother and more consistent.
For a broader look at how wall preparation and paint work together, read our guide to drywall installation and painting services.
Why New Drywall Prep Matters in Webster Groves Homes
New drywall has seams, screw spots, paper surfaces, joint compound, sanding dust, and small surface differences that need attention before painting. If these areas are skipped or rushed, the final wall can look patchy, rough, or unfinished.
In Webster Groves homes, this can be especially noticeable. Many homes have older wall surfaces, existing trim, original details, previous repairs, and rooms that have been updated over time. New drywall may be installed next to older plaster, painted trim, built-ins, or walls with years of previous coatings.
That is why new drywall preparation before painting in Webster Groves, MO should be handled carefully. The goal is not only to paint the new surface. The goal is to make the new surface feel like it belongs in the room.
Step 1: Make Sure Seams, Corners, and Fasteners Are Finished Correctly
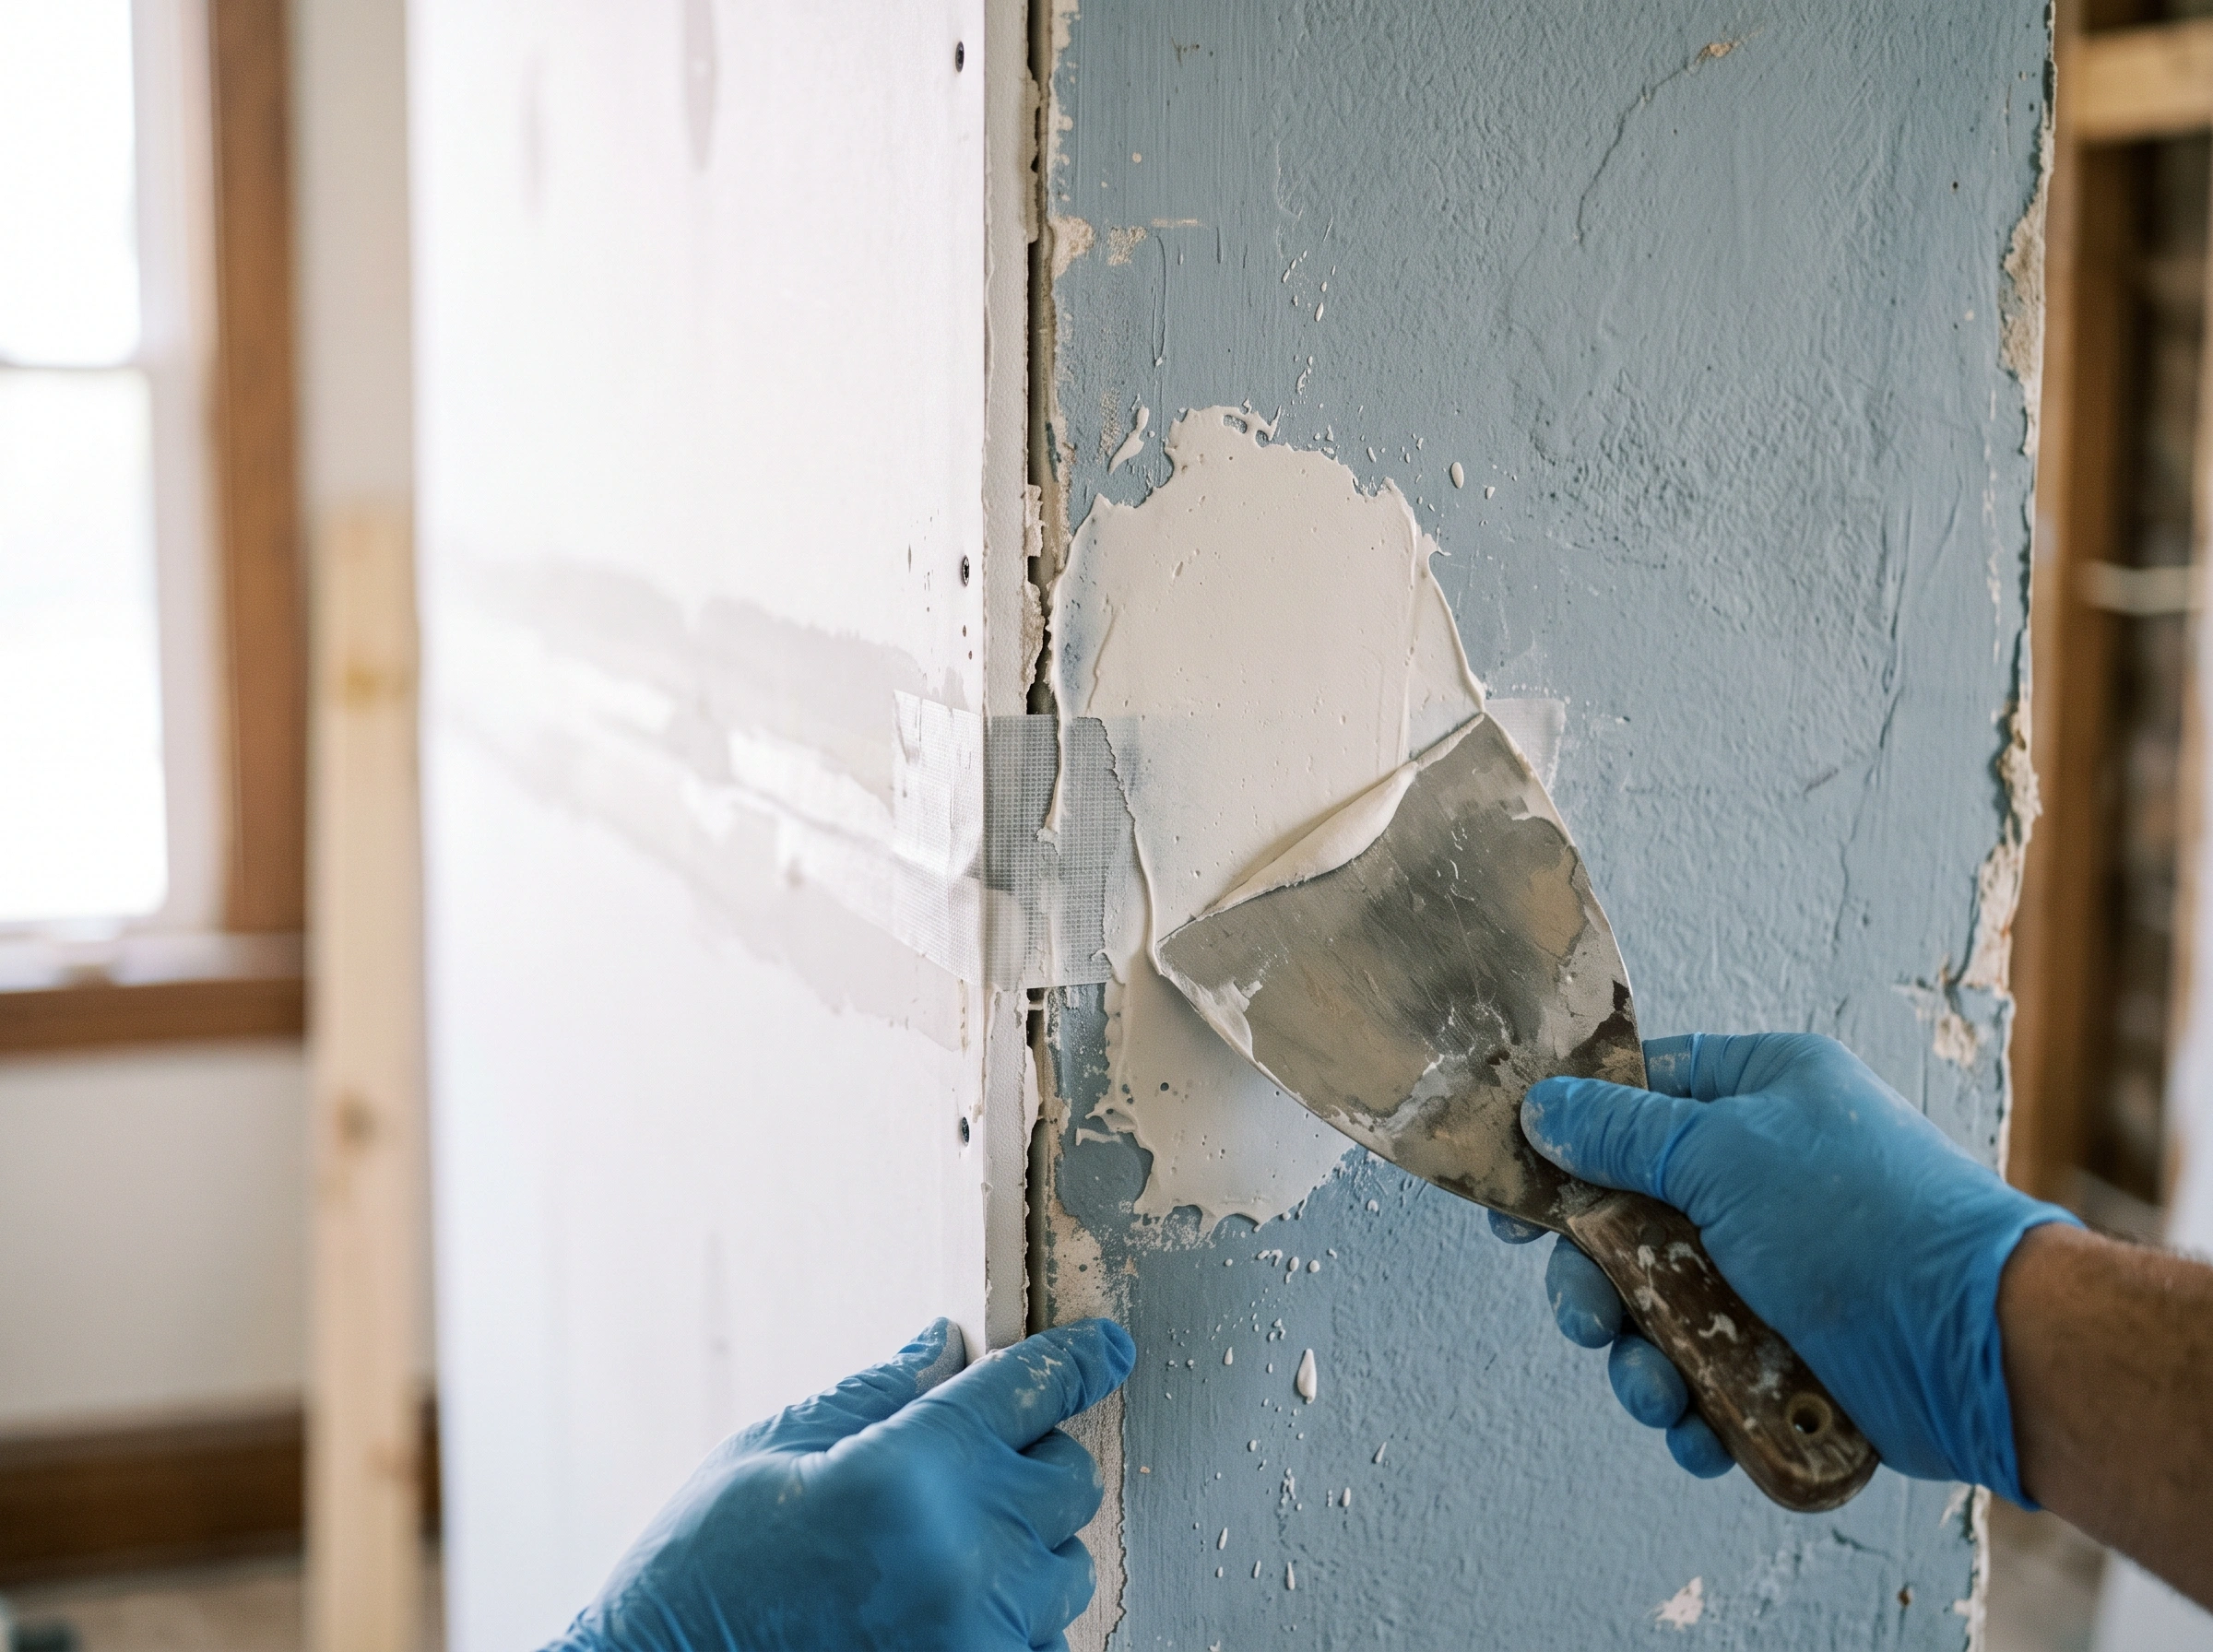
Drywall finishing comes before painting. This includes taping seams, covering screw heads, applying joint compound, smoothing corners, and feathering compound into the surrounding wall.
If seams are not finished properly, they can show through the paint. If screw spots are shallow or raised, they may become visible after primer. If corners are not clean, the room can look unfinished even with a fresh paint color.
This step is important for finished basements, older bedrooms, kitchen remodels, home offices, garage improvements, enclosed porch conversions, and additions around Webster Groves.
When new drywall sits beside older walls or detailed trim, the finishing work needs to be even more careful. The transition should look smooth before primer is applied.
Step 2: Allow Joint Compound to Dry Before Sanding
Joint compound needs time to dry before sanding, priming, or painting. If sanding starts too soon, the surface can smear, tear, or become uneven. If paint is applied before the compound is ready, the finish may not look clean.
Drying time depends on the thickness of the compound, room temperature, humidity, ventilation, and the number of coats used.
This is one of the steps homeowners sometimes rush because the wall may look dry on the surface. However, painting too early can lead to visible texture issues, uneven primer, or areas that need to be redone later.
A little patience during drying can prevent bigger problems once the room is painted.
Step 3: Sand the Drywall Smooth Without Damaging the Paper
Sanding helps remove ridges, tool marks, rough compound, and uneven transitions between drywall panels. It is one of the most important steps before painting new drywall.
The goal is to make the seams and patched areas blend into the surrounding wall. Screw spots should be smooth. Corners should be even. Edges should not feel raised when viewed under light.
At the same time, sanding needs to be controlled. Too little sanding leaves rough areas. Too much sanding can damage the drywall paper, which may cause problems when primer and paint are applied.
This matters in Webster Groves homes where natural light, stair landings, built-ins, older trim, and connected rooms can make surface flaws easier to see.
Step 4: Clean Drywall Dust From Walls, Trim, and Built-In Areas
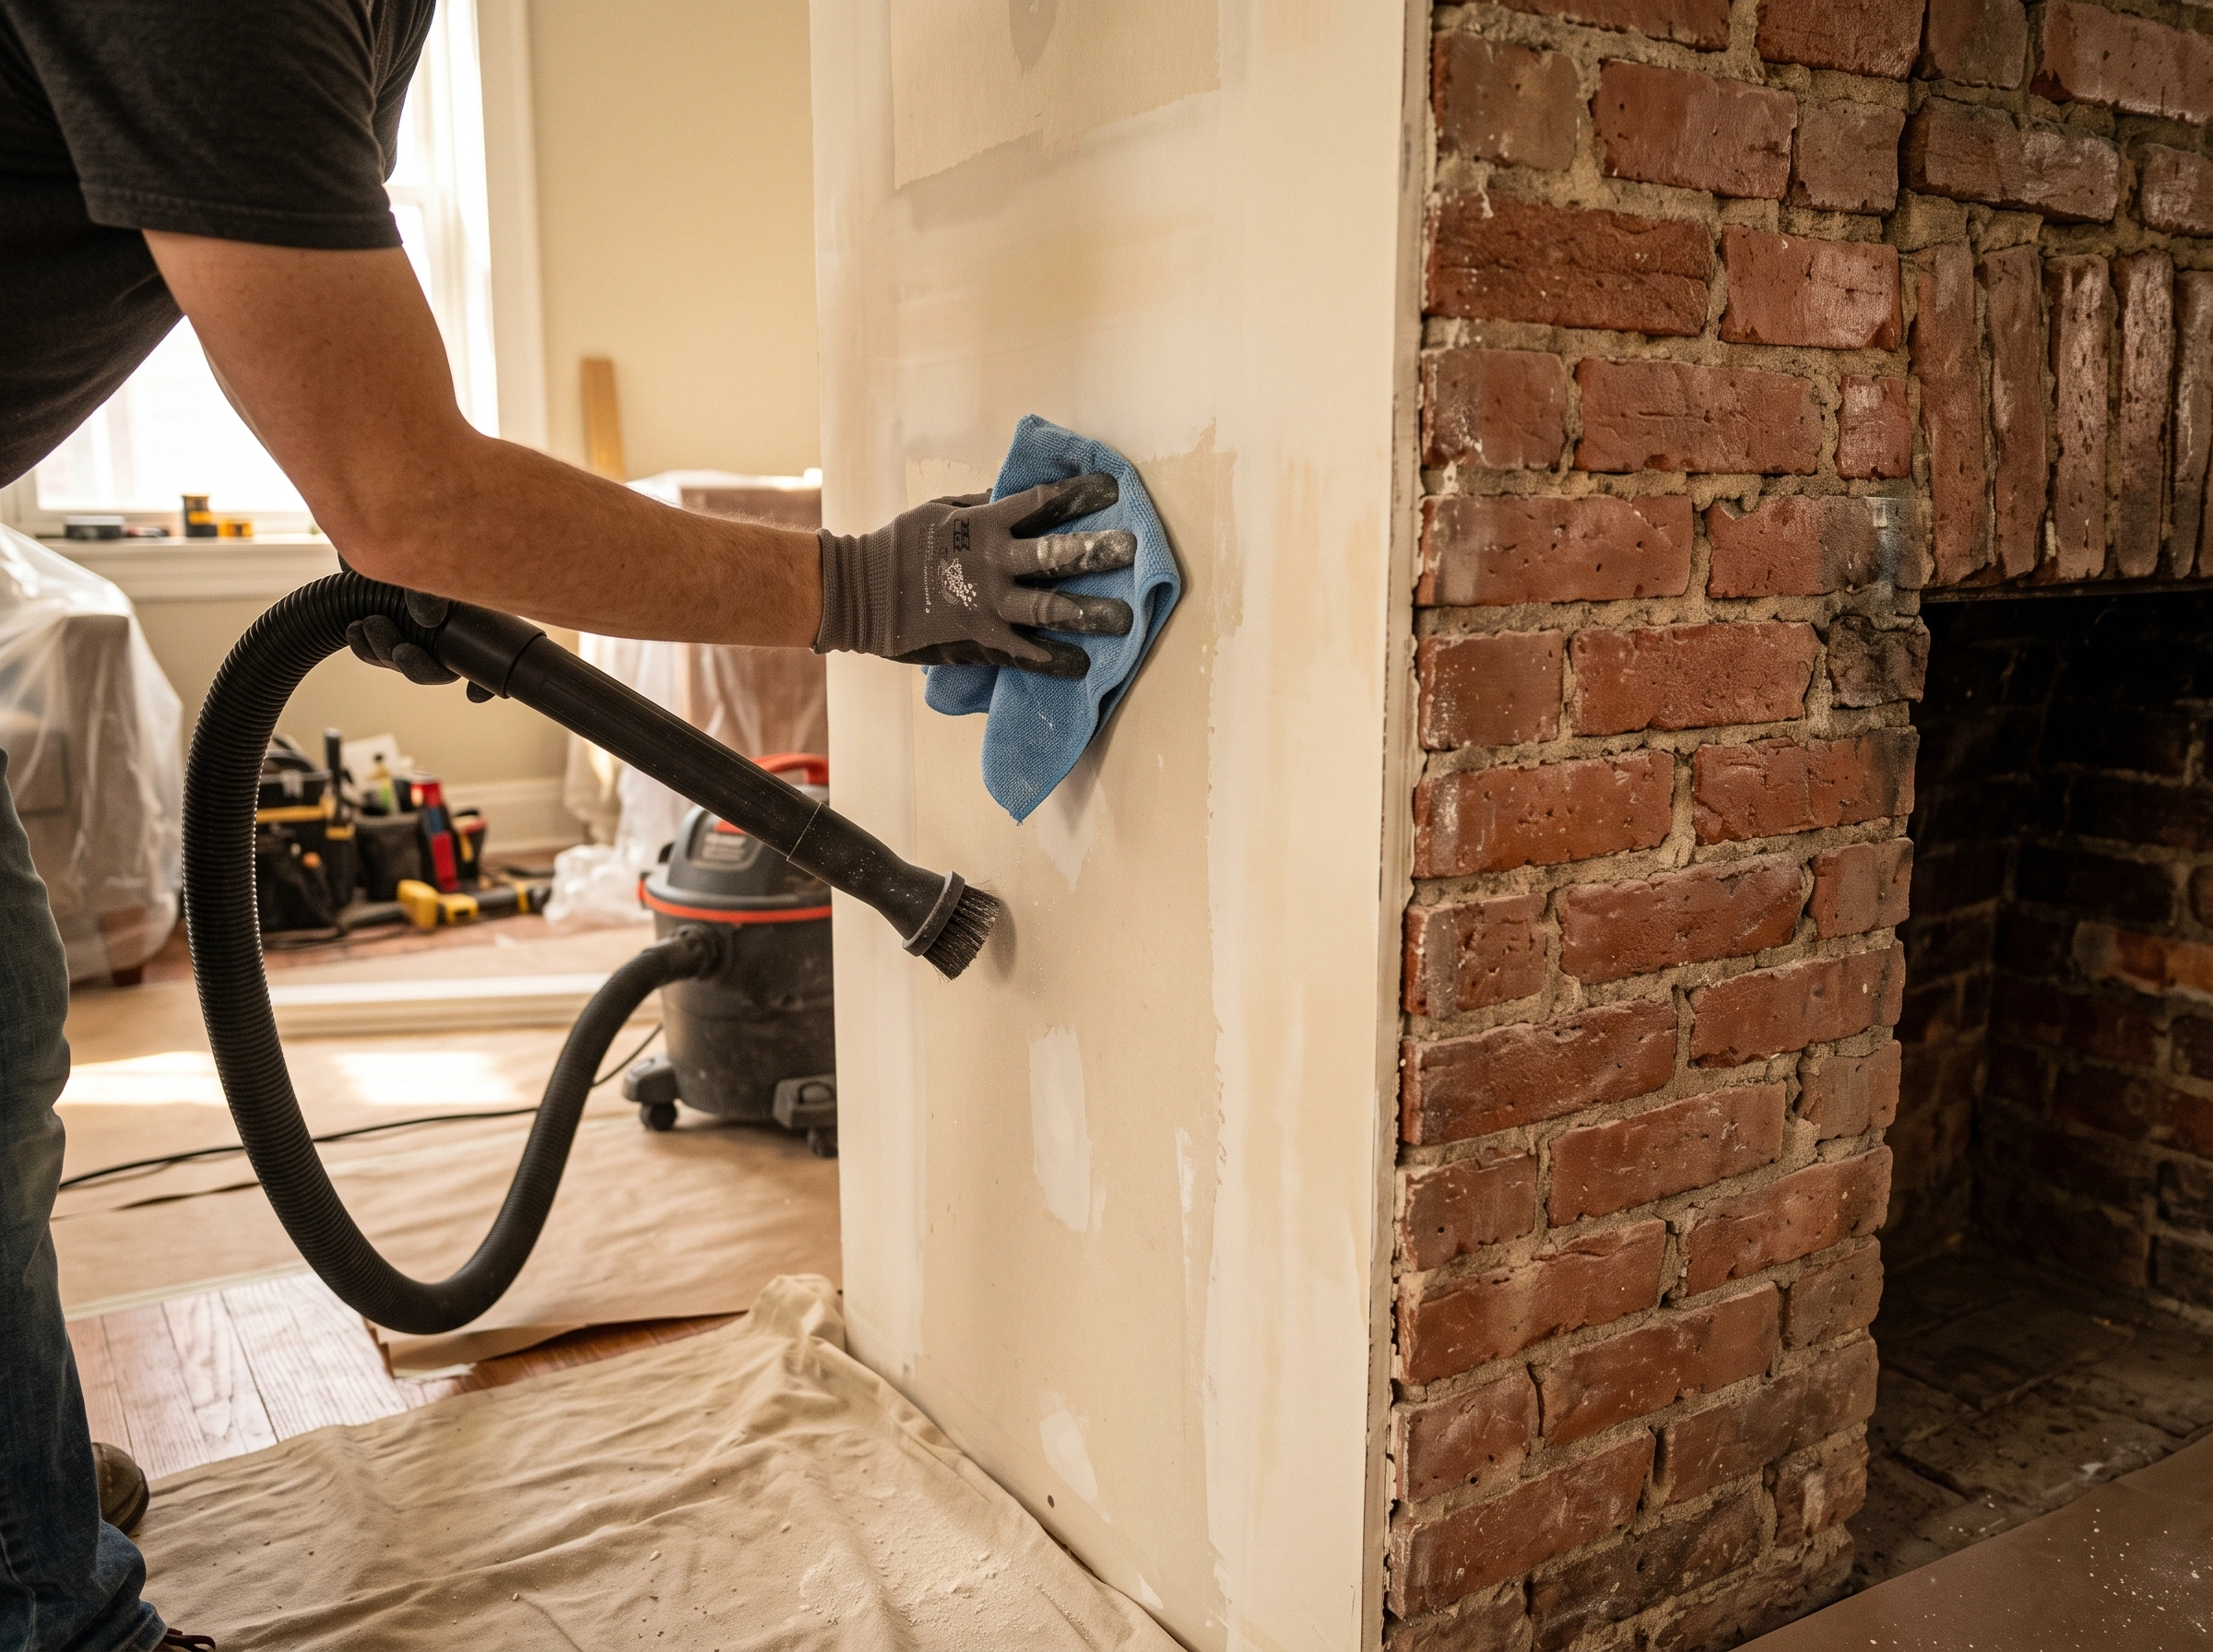
Sanding creates fine drywall dust. If that dust stays on the wall, primer may not bond properly. It can also leave the finished paint feeling rough or uneven.
Before priming, the wall surface should be cleaned. Dust can collect on corners, baseboards, window casings, built-in shelving, stair trim, door frames, floors, and nearby surfaces.
This is especially important in Webster Groves homes with older details. Built-ins, trim edges, and tight corners can hold dust that may affect the final finish if it is not removed.
A clean surface gives primer a better chance to seal the drywall evenly. It also helps the paint go on smoother and look more consistent after it dries.
Step 5: Inspect the New Drywall Under Natural and Angled Light
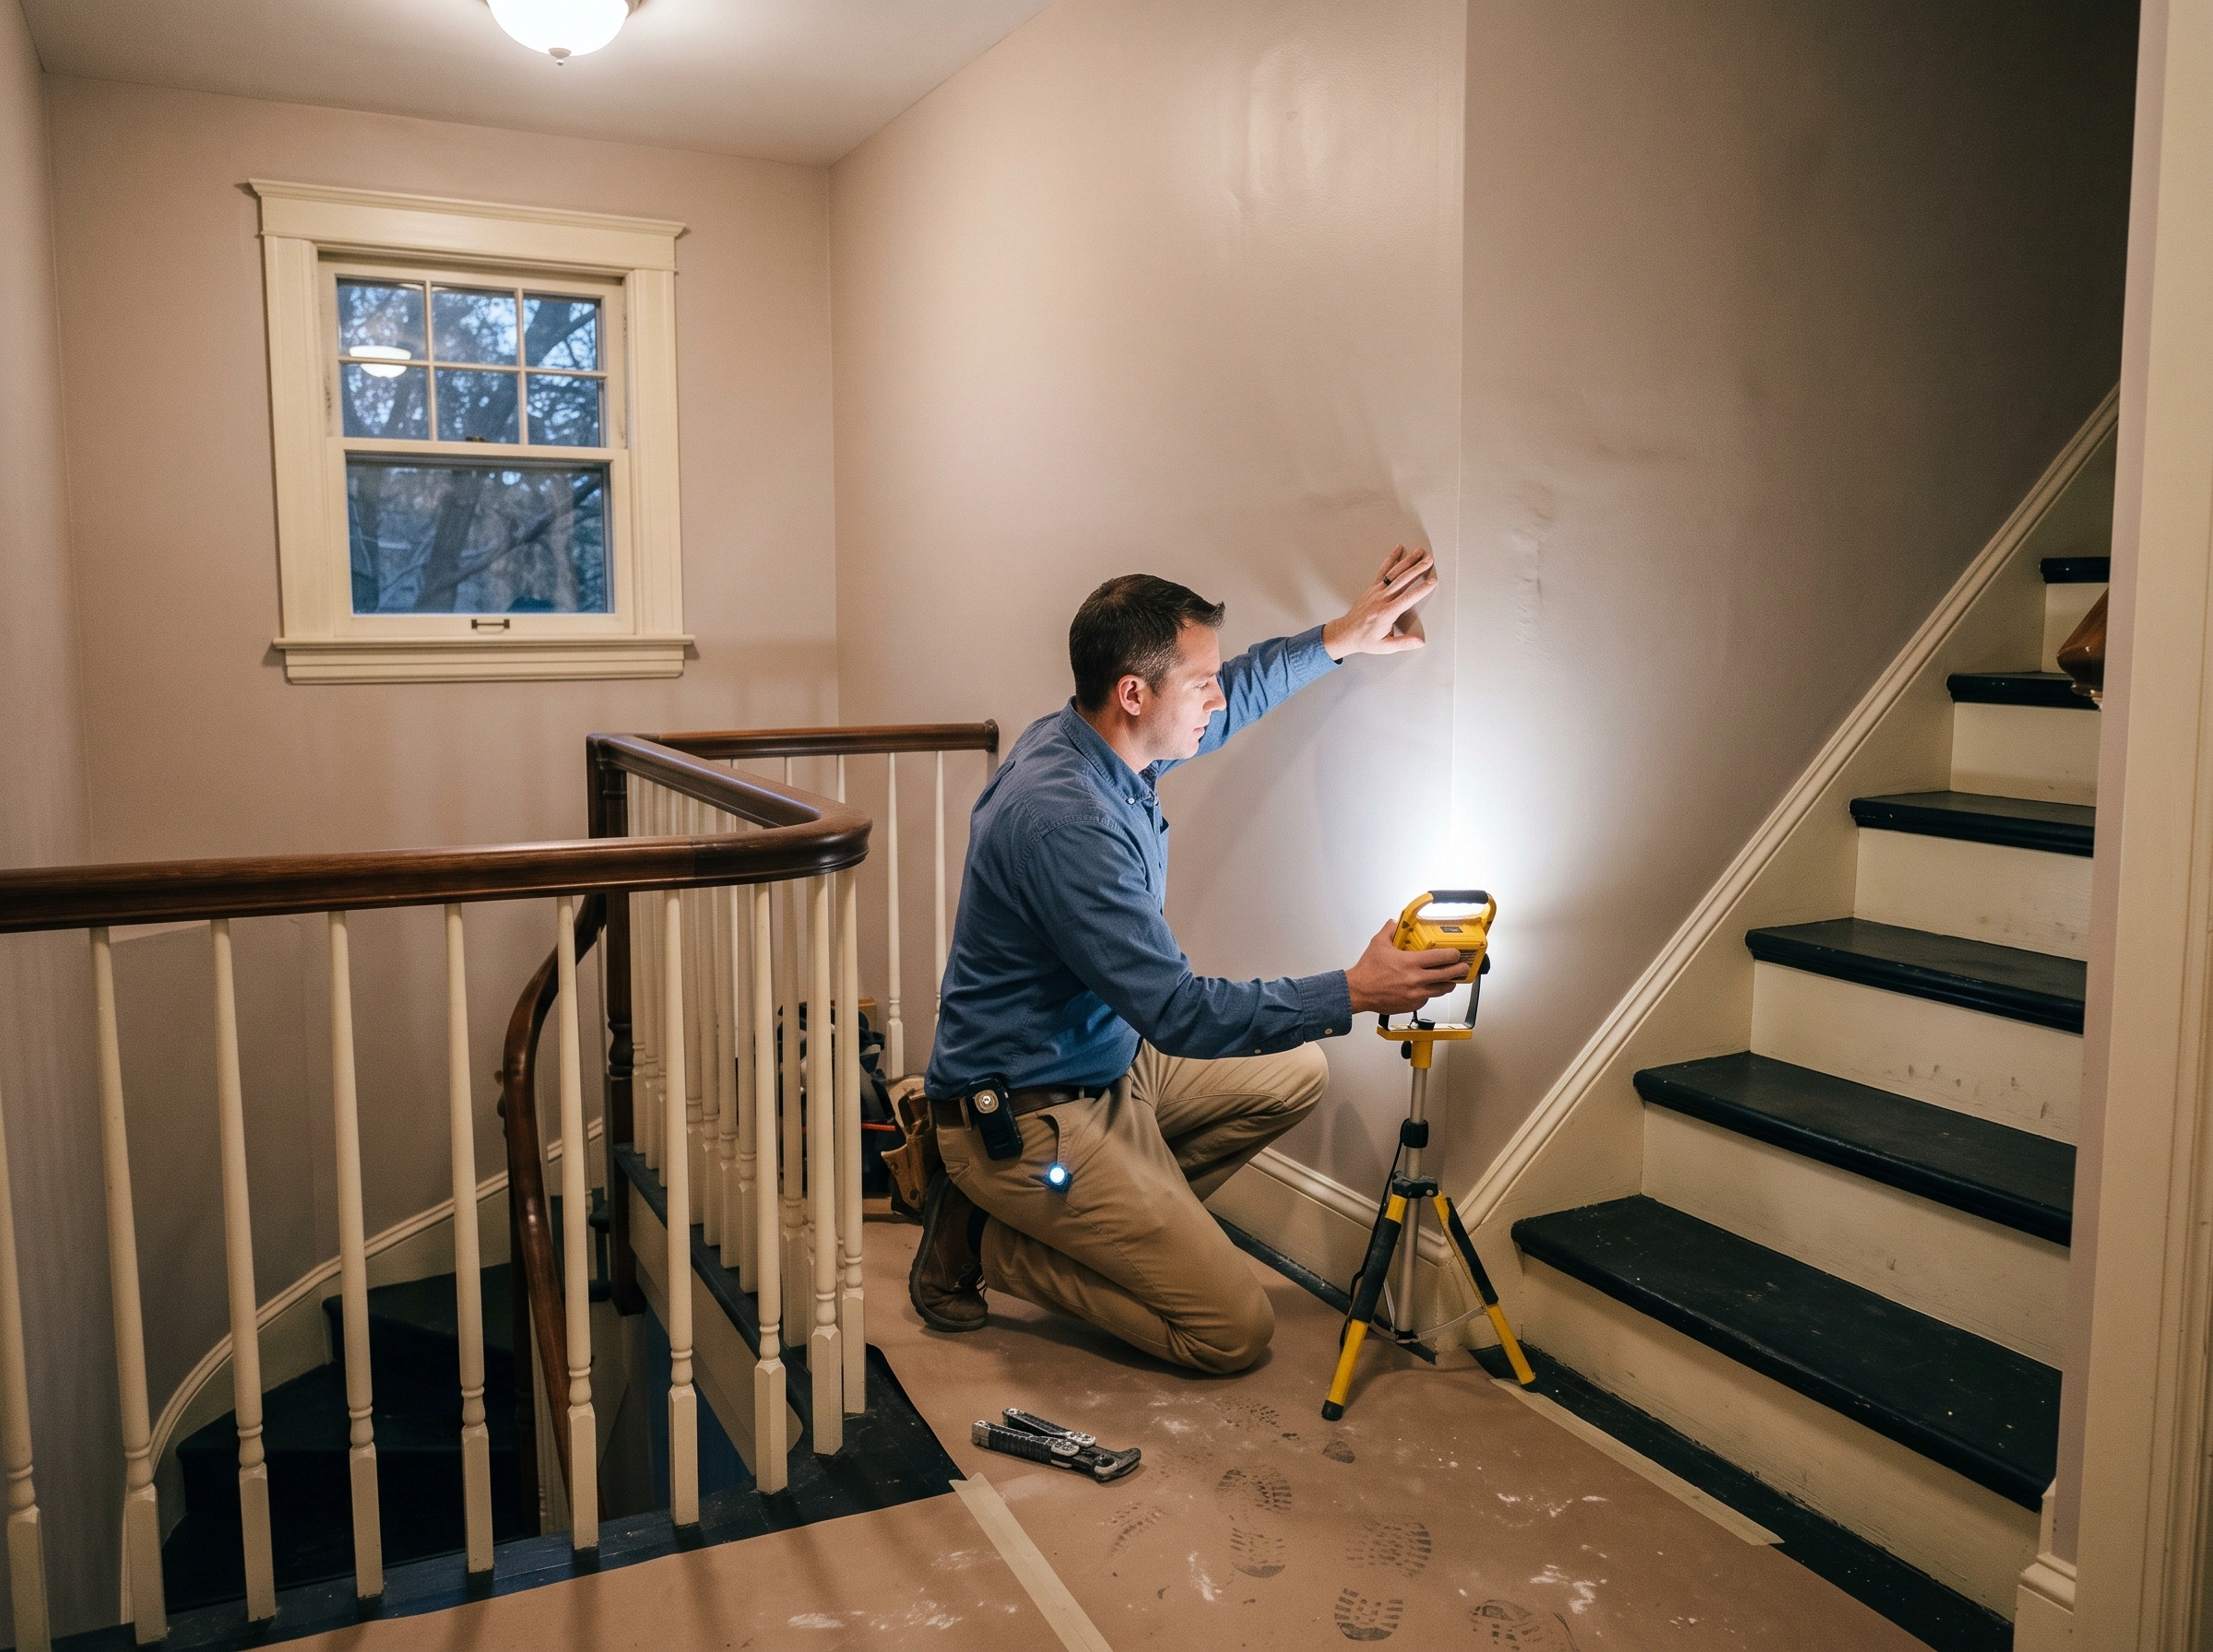
After sanding and cleaning, the wall should be inspected before primer. Good lighting can reveal small flaws that may not be obvious at first.
Look for pinholes, raised seams, sanding scratches, uneven corners, visible screw spots, wavy compound, and texture differences. These issues are easier to correct before primer and paint are applied.
Natural light can be helpful, but angled work light is often even better for spotting imperfections. A wall may look fine straight on, but angled light can reveal ridges, dips, or rough spots.
In Webster Groves homes, this step is helpful in stairways, finished basements, home offices, dining rooms, converted porch spaces, and rooms where new drywall meets older surfaces.
Step 6: Prime New Drywall Before Painting
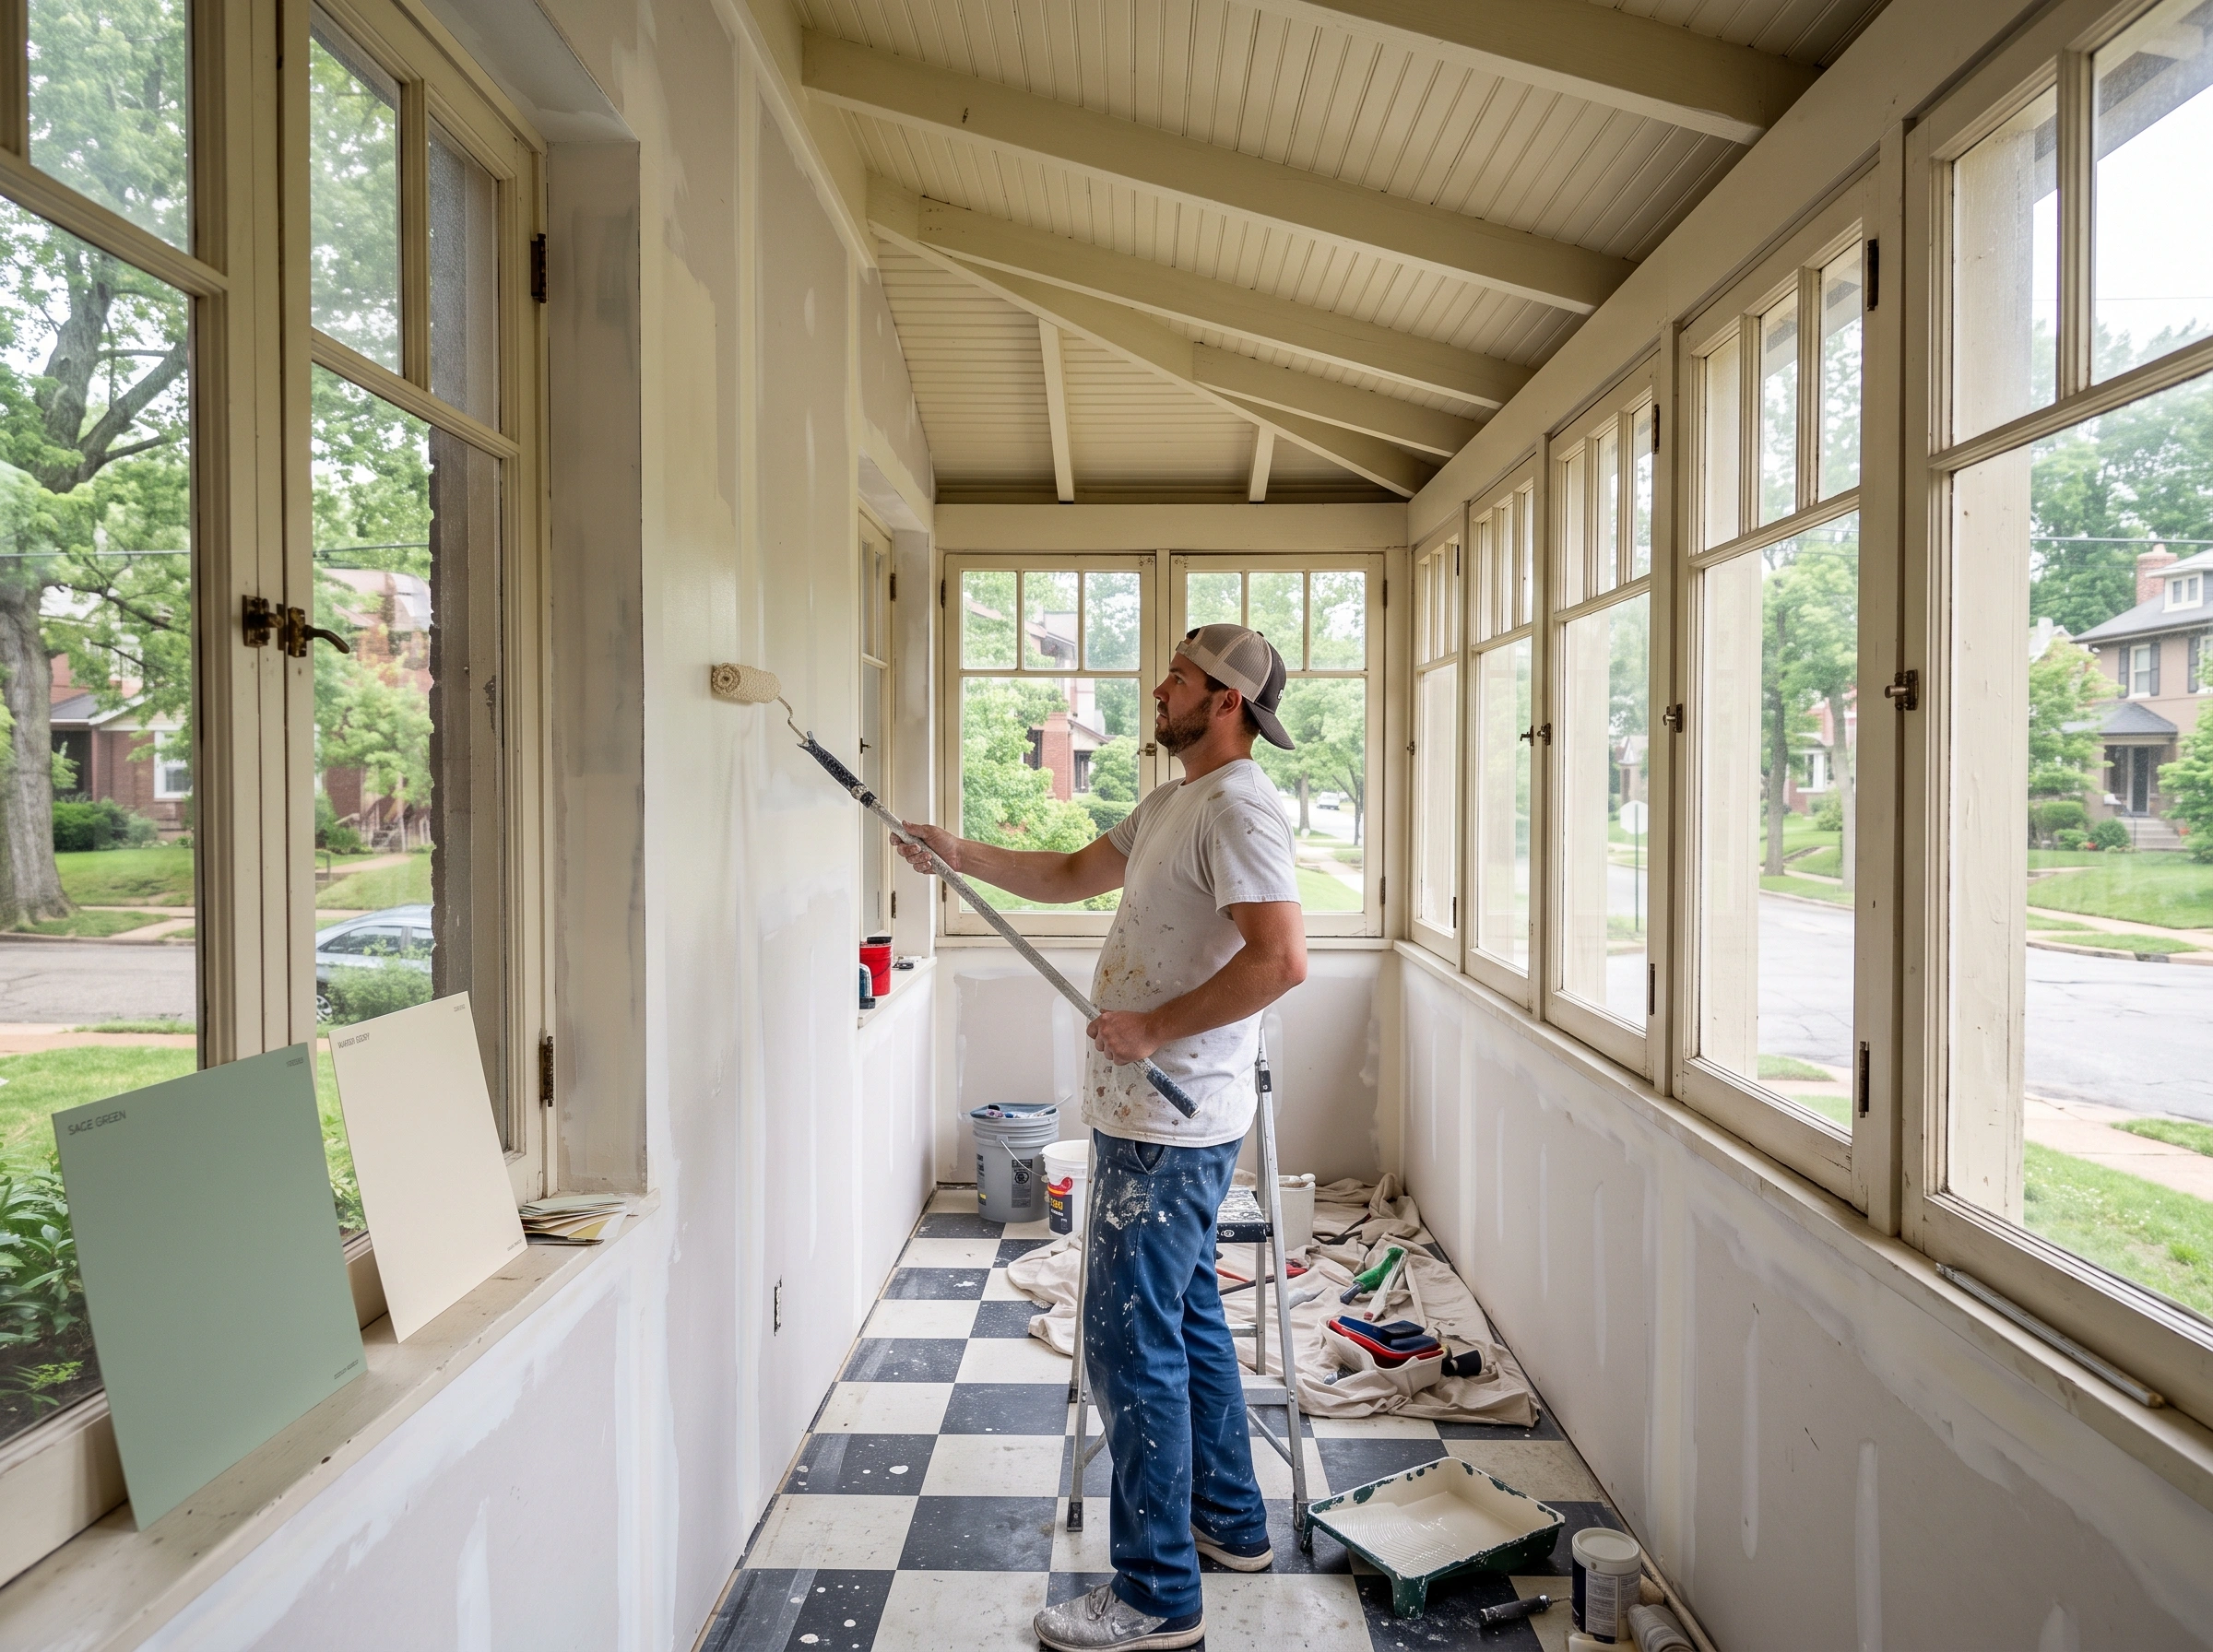
Primer is essential when painting new drywall. Drywall paper and joint compound absorb paint differently. Without primer, the paint can dry unevenly and create a blotchy finish.
Skipping primer can cause flashing, dull patches, inconsistent sheen, poor coverage, and color differences across the wall. In some cases, it may also require extra coats of paint to correct the problem.
Flashing happens when one part of the wall looks dull, shiny, or different from the rest after paint dries. This usually happens because the surface absorbed the paint unevenly.
In Webster Groves homes, flashing can be especially noticeable in high-visibility areas such as stairways, home offices, dining rooms, finished basements, and rooms with natural light. Primer helps create a more even base before the final paint color goes on.
Step 7: Blend New Drywall With Older Wall Surfaces
One of the biggest challenges in Webster Groves homes is making new drywall blend with older wall surfaces. A remodel, finished basement, ceiling repair, room conversion, or addition may place new drywall beside walls that have been painted, patched, textured, or repaired over many years.
That transition needs attention. The drywall should be feathered properly, sanded carefully, cleaned, primed, and reviewed before painting. If the texture or smoothness is noticeably different, the new section may stand out.
Sometimes, spot priming is enough. Other times, connected walls may need to be painted together so the final result looks more consistent.
This is where professional drywall finishing can make a major difference. The goal is not just to cover the new drywall. The goal is to help it look like it has always belonged in the room.
Step 8: Choose the Right Paint Finish for the Room
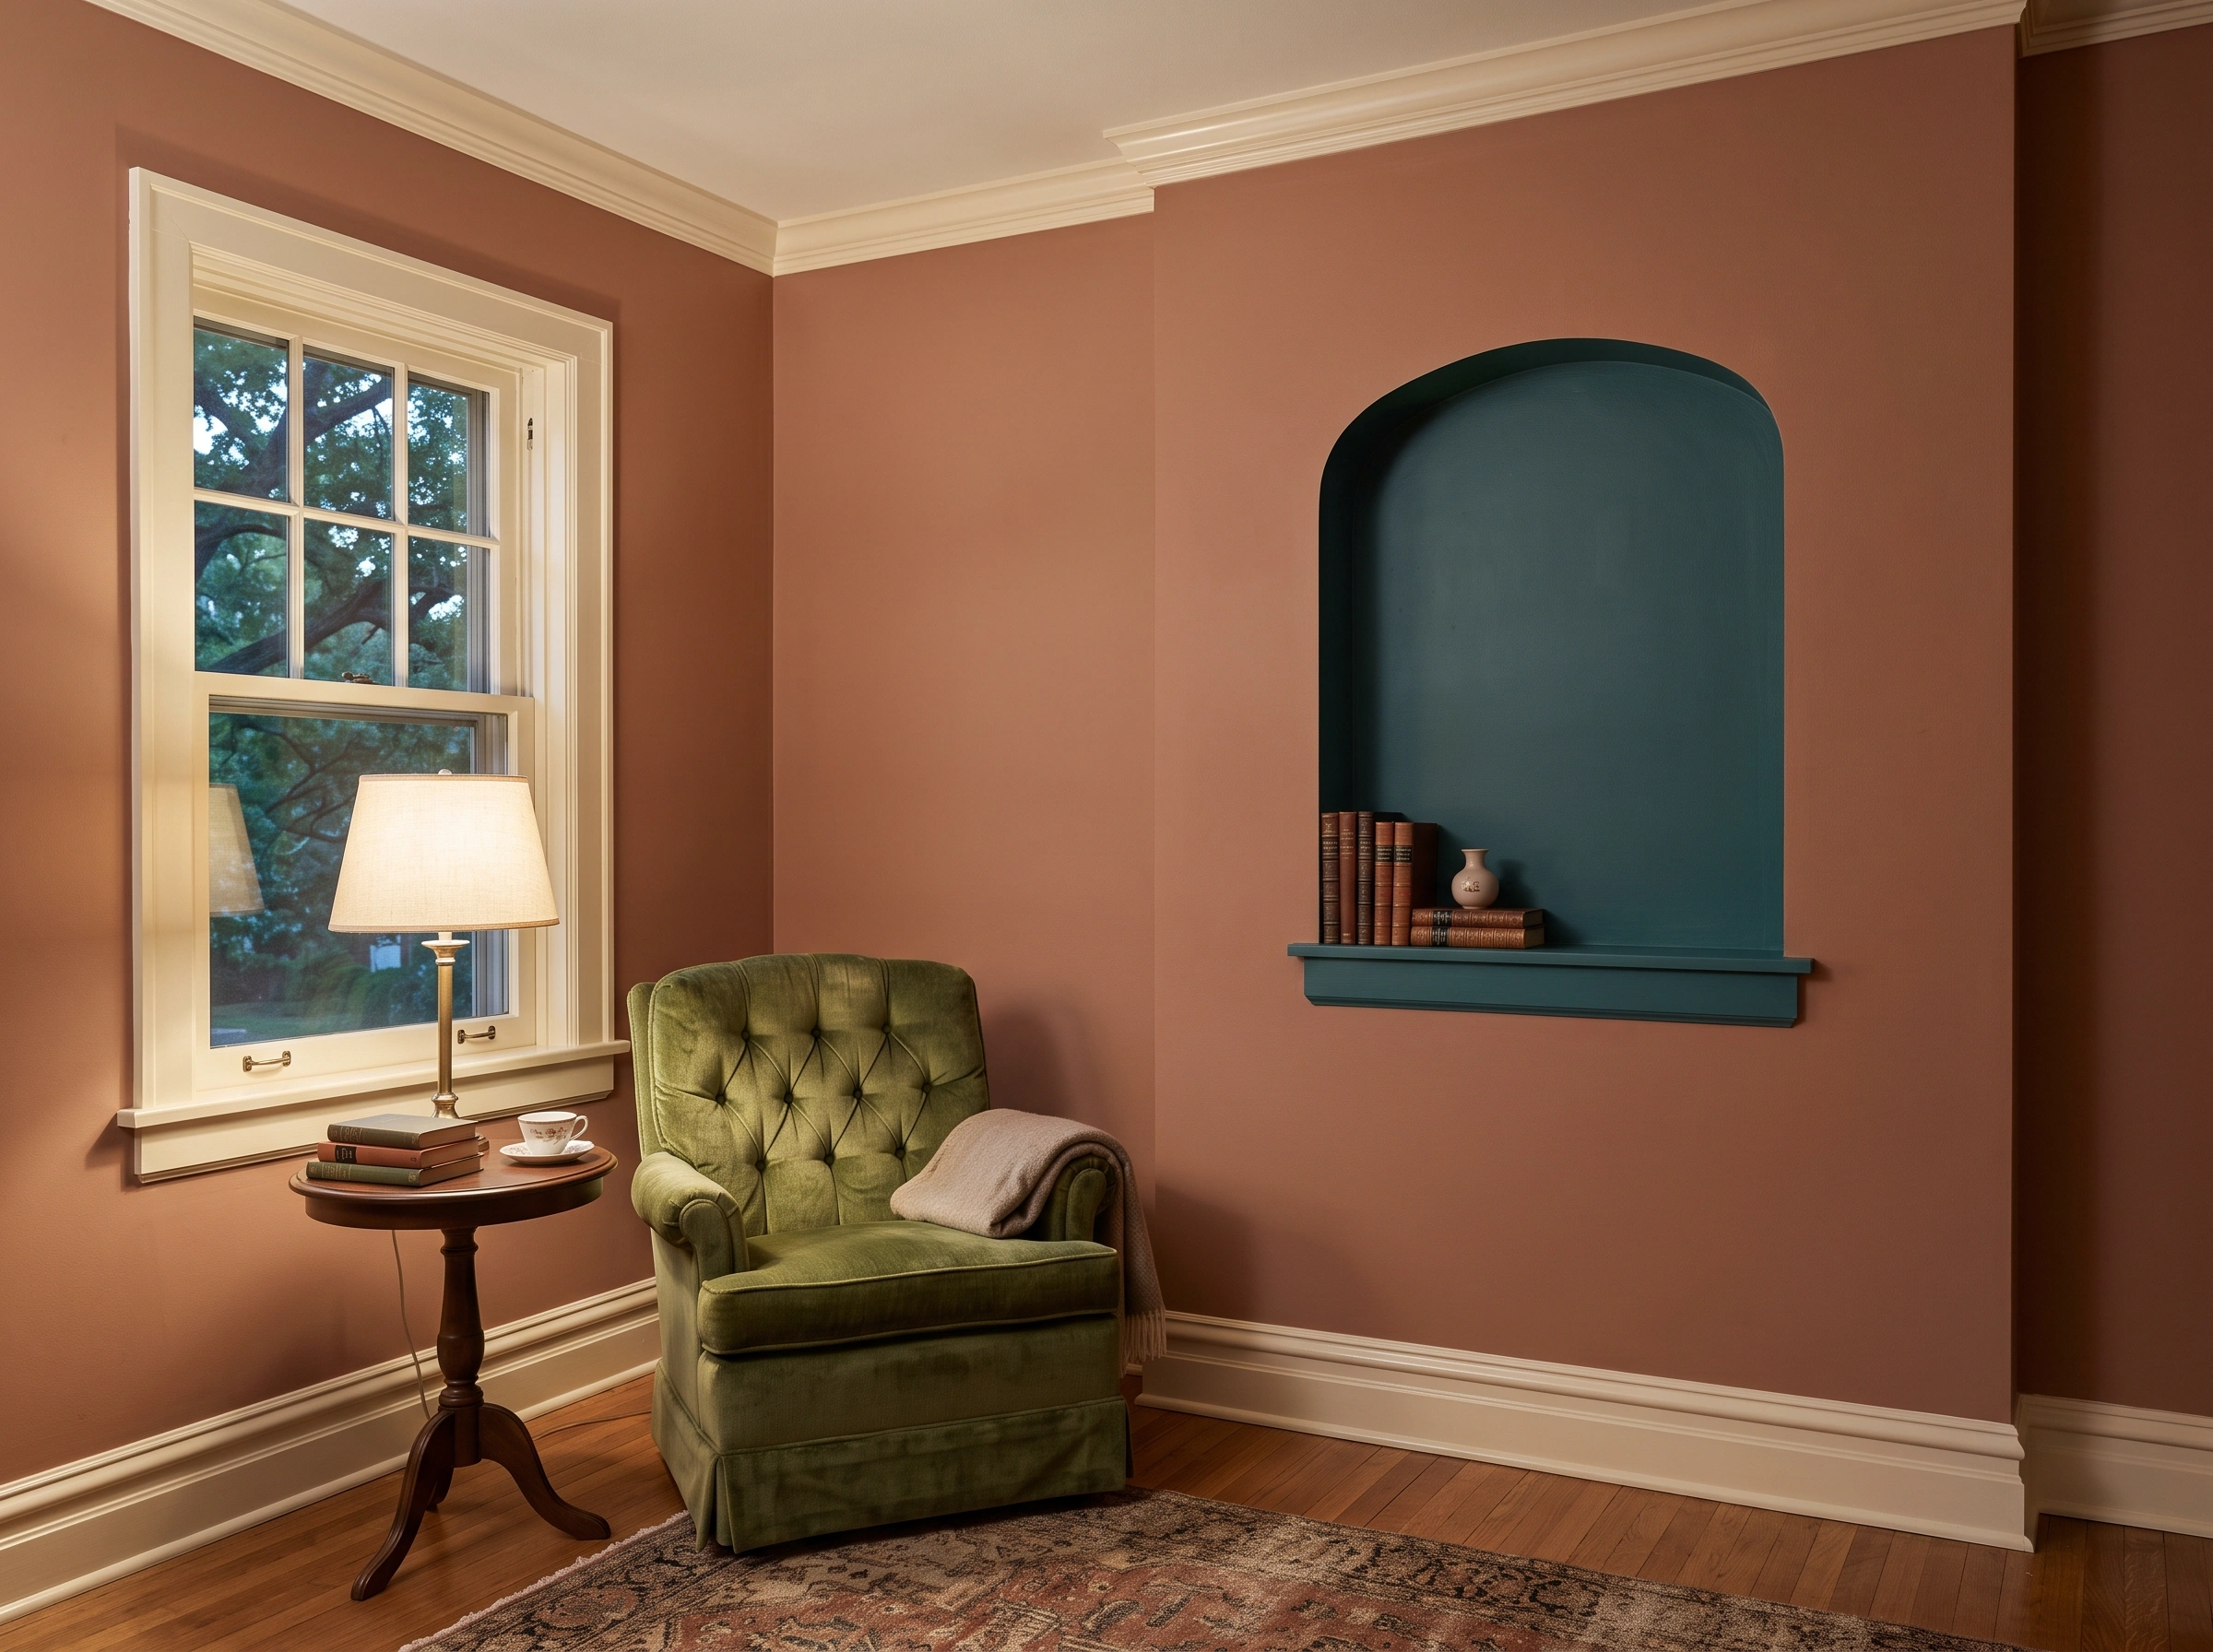
The right paint finish depends on how the room will be used. A finished basement family room, home office, child’s bedroom, hallway, stairway, bathroom, or guest room may each need a different level of durability.
Flat or matte finishes can work well in lower-traffic spaces, but they may show marks more easily. Eggshell is often a practical choice for living areas and bedrooms. Satin can work well in busier rooms. Semi-gloss is commonly used for trim, doors, and moisture-prone areas.
The wall condition also matters. Higher-sheen finishes can make drywall flaws more visible. If the new drywall has not been sanded, cleaned, primed, and inspected properly, the paint finish may draw attention to those imperfections.
Good paint starts with good preparation.
New Drywall Prep for Webster Groves Basements, Additions, and Room Updates
New drywall preparation is common in many Webster Groves-area home projects. Homeowners may need new drywall for finished basements, home offices, kitchen updates, bathroom remodels, attic conversions, garage improvements, room additions, enclosed porch conversions, or lower-level living spaces.
EJC Painting & Drywall helps homeowners in Webster Groves and nearby areas such as Old Webster, Old Orchard, Webster Park, Tuxedo Park, Selma, Glendale, Shrewsbury, Maplewood, Rock Hill, Brentwood, Oakland, Warson Woods, and Kirkwood.
In these projects, the drywall work should be planned with the final paint result in mind. New drywall should be finished, sanded, cleaned, primed, and inspected before the finish coat is applied.
Homeowners can also learn more about our interior painting and drywall installation services for Webster Groves-area projects.
Common Mistakes When Painting New Drywall
Painting new drywall may seem simple, but small mistakes can affect the final result.
One common mistake is painting before the joint compound has fully dried. Another is skipping primer and applying paint directly over the drywall. Some homeowners paint over drywall dust, which can affect adhesion and leave the surface rough.
Other mistakes include not sanding enough, sanding too aggressively, ignoring visible seams, failing to check the wall under good light, using the wrong paint finish, or assuming paint will hide poor drywall finishing.
In older Webster Groves homes, these mistakes can be more noticeable because new drywall often sits beside older wall surfaces, trim, built-ins, or previous repairs.
Taking the time to prepare the surface correctly can help avoid uneven color, flashing, rough texture, and visible patchwork.
When Should Webster Groves Homeowners Call a Professional?
Some small drywall touch-ups may be manageable for homeowners who are comfortable with basic wall prep. Larger new drywall projects are usually more difficult to get right.
Professional help is especially useful for finished basements, ceilings, additions, large rooms, stairways, high-visibility spaces, rooms with built-ins, areas with detailed trim, and projects where new drywall needs to blend with older walls.
A professional can finish the drywall, sand it correctly, clean the surface, prime it, inspect it, and paint it with the final result in mind.
EJC Painting & Drywall can help with drywall installation, finishing, priming, and interior painting so new drywall is prepared correctly before paint.
Final Thoughts
New drywall should be finished, dried, sanded, cleaned, primed, inspected, and painted in the right order. Skipping any of these steps can affect how the final paint looks.
For Webster Groves homeowners, preparation is especially important when new drywall needs to blend with older walls, existing trim, built-ins, finished basements, or updated rooms.
If your Webster Groves home has new drywall that needs finishing, priming, or painting, EJC Painting & Drywall can help prepare the surface the right way. Call 314-471-4563 to request a free estimate.